
Introduction
To save time and ensure consistency across projects, OneView allows you to import display unit settings from any project you have visibility of within your organization. This feature is especially useful when managing multiple similar projects or when aligning formatting for reporting purposes. In this guide, you’ll learn how to import these settings step-by-step using the display settings table.
-
-
From the Projects screen, locate the project you want to work on.
-
Click the View button on the project card (e.g., Beach Blvd Demo Project).
-
-
-
From the side navigation menu, click Settings.
-
-
-
From the top navigation tabs, click on Display Settings.
-
-
-
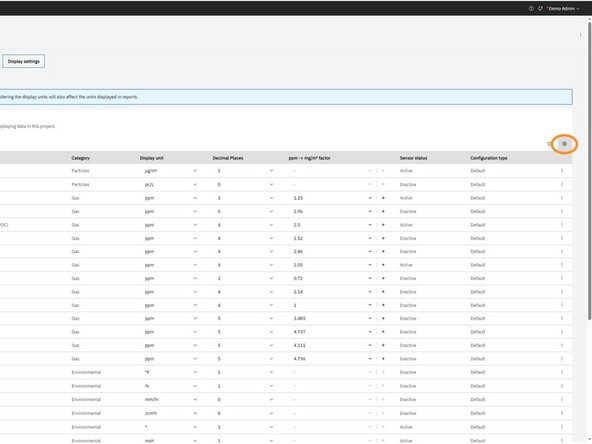
In the Display Units table, click the settings cog icon located at the top right corner of the table.
-
This will open a dropdown menu with additional display units options.
-
-
-
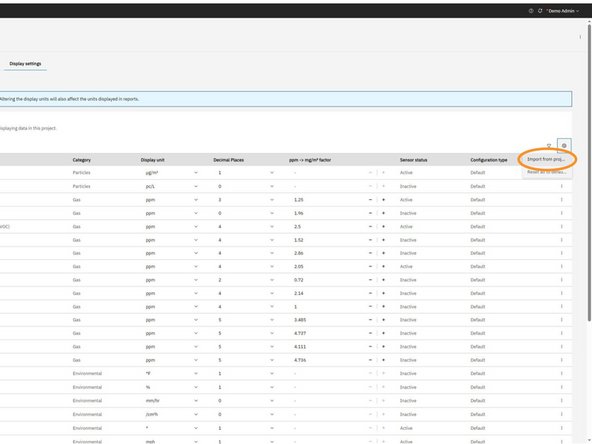
From the dropdown menu, click Import from project.
-
This will open a modal allowing you to select another project within your organization to copy display unit settings from.
-
-
-
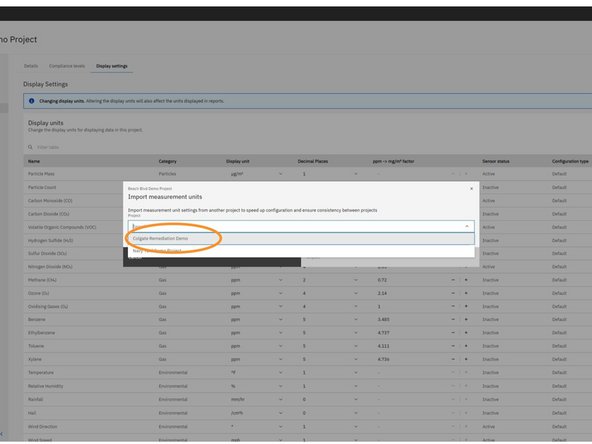
In the modal, click the dropdown menu to view a list of projects you have access to (i.e. visibility of) within your organization.
-
Select the project whose display unit settings you want to import.
-
These settings will be copied into the current project, replacing any existing customizations.
-
-
-
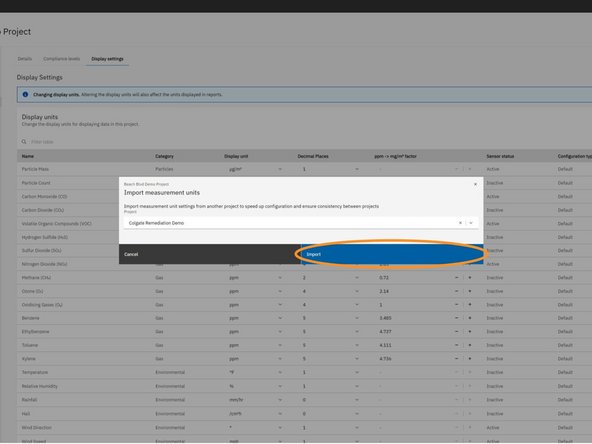
After selecting the desired project, click the Import button in the modal.
-
This will apply the display unit settings from the selected project to your current project and close the modal.
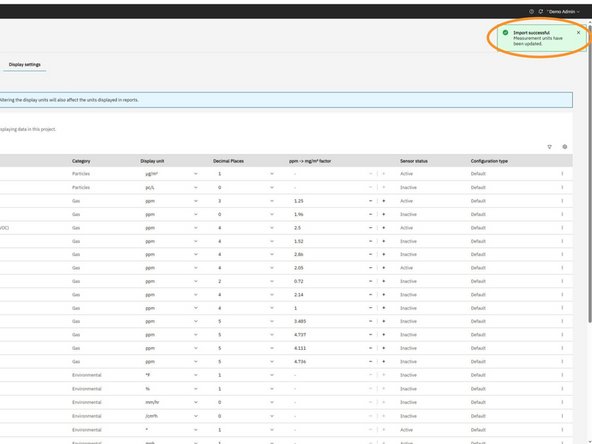
-
A confirmation toast will appear indicating the import was successful.
-


For further support, contact Aeroqual Support.
For further support, contact Aeroqual Support.
