Introduction
This guide explains how to manage existing alerts in Aeroqual Cloud.
From the Alerts table, you can:
- Turn alerts on or off
- View and edit alert configuration
- Clone an alert to reuse its settings
- Delete alerts that are no longer needed
These actions help you keep alerts aligned with your requirements.
-
-
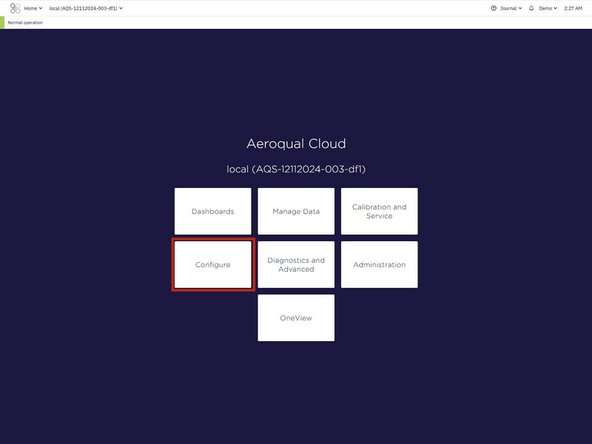
From the Aeroqual Cloud home screen, select Configure.
-
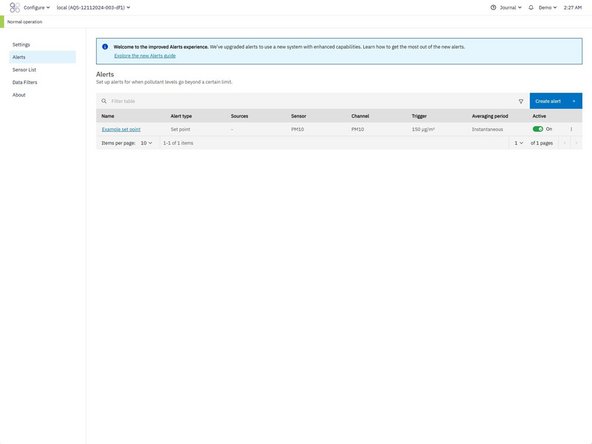
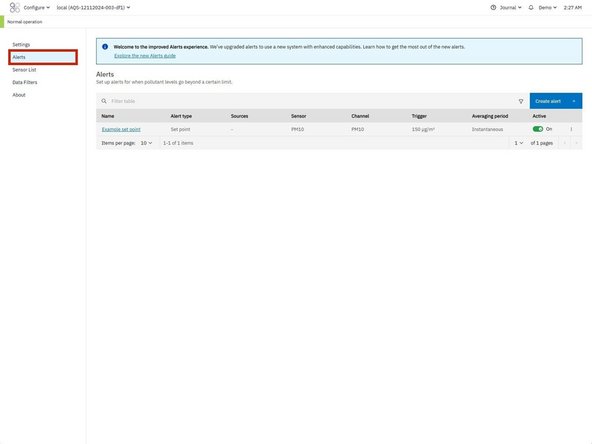
From the side navigation menu, click Alerts.
-
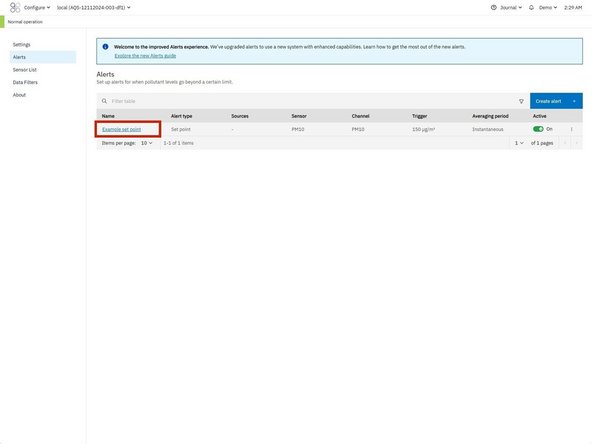
The Alerts page displays a table showing all alerts configured for the selected instrument or monitoring location.
-
-
-
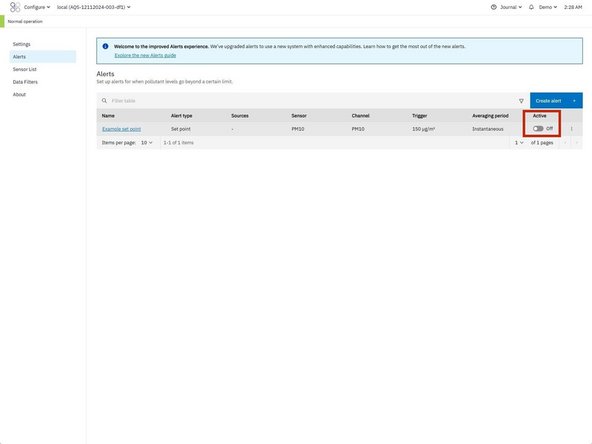
Use the toggle in the Active column to quickly turn an alert on or off without editing it.
-
-
-
Click the name of the alert in the table.
-
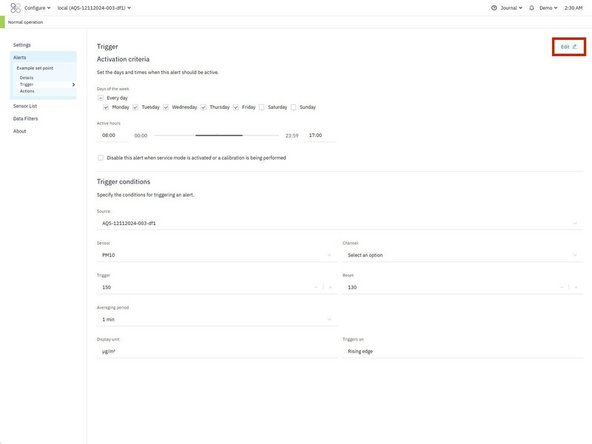
The alert configuration page will open.
-
From here you can edit different parts of the alert:
-
Details: Update the alert name.
-
Trigger: Modify activation criteria (days and hours) and trigger conditions.
-
Actions: Update email recipients or SMS notification settings.
-
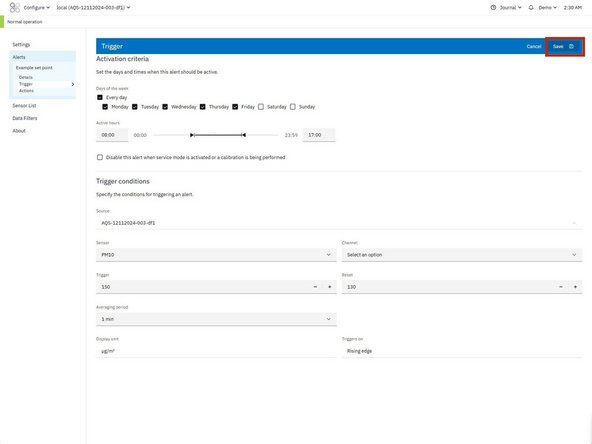
Click Edit in the section you want to change, then click Save to apply the update.
-
To return to the alerts table at any time click Alerts on the side navigation menu.
-
-
-
You can duplicate an alert to quickly reuse its configuration.
-
From the Alerts table:
-
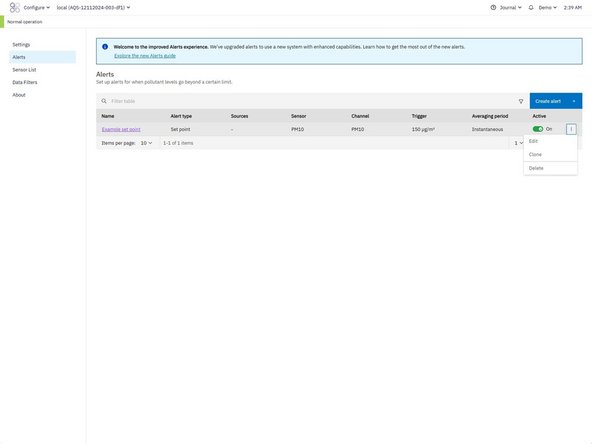
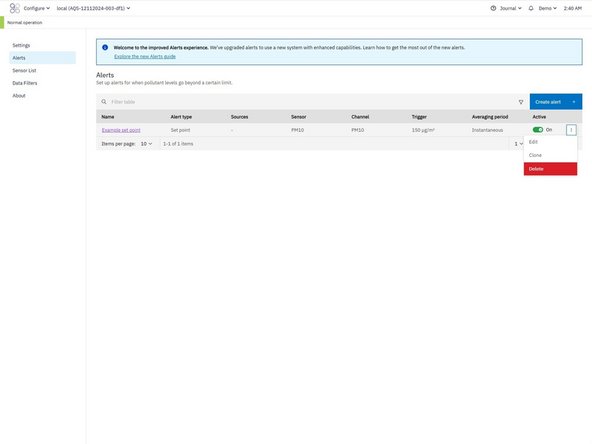
Click the overflow menu (⋮) on the right side of the alert row.
-
Select Clone.
-
The alert creation workflow will open with all settings from the original alert pre-filled.
-
Update any settings if needed, then click Clone to create the new alert.
-
The cloned alert will appear in the Alerts table.
-
-
-
From the Alerts table:
-
Click the overflow menu (⋮) on the right side of the alert row.
-
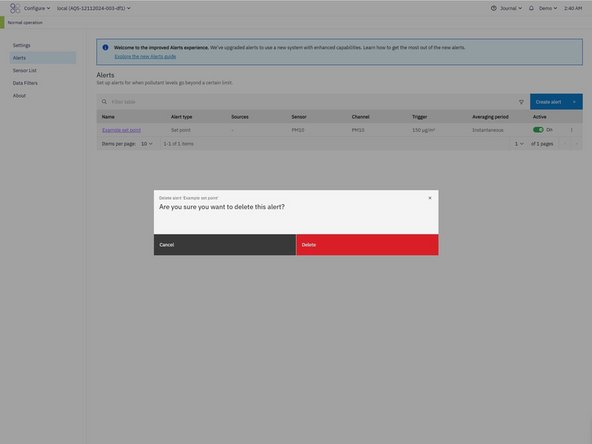
Select Delete.
-
A confirmation window will appear displaying the alert name.
-
Click Delete to confirm.
-
⚠️ Note: Deleted alerts cannot be recovered. Ensure the correct alert is selected before confirming.
-
For further support, contact Aeroqual Support.
For further support, contact Aeroqual Support.
