
Introduction
This guide covers how to view existing alerts in your project and edit their configuration. You’ll learn how to adjust activation criteria, trigger conditions, and notification actions, ensuring your alerts continue to meet site requirements.
-
-
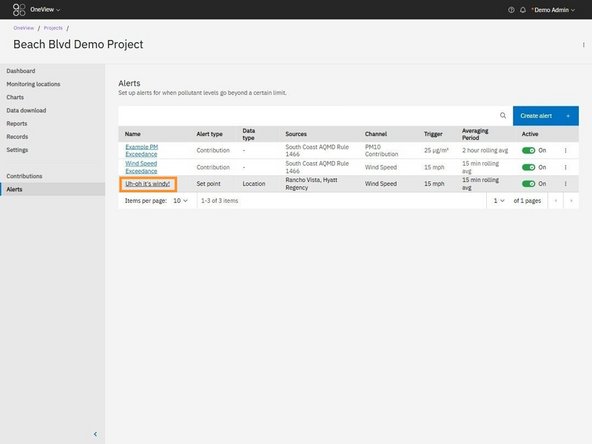
From the side navigation menu, click Alerts.
-
You’ll see a table listing all alerts configured for your project.
-
-
-
The table displays key details for each alert:
-
Name: Clickable link that opens the alert for editing
-
Alert type: Indicates whether it's a Contribution, Set Point, or Offline alert.
-
Sources and Channels: Data streams the alert is based on.
-
Trigger and Averaging Period: Shows when and how the alert is activated.
-
Active toggle: Use the toggle to turn alerts on or off without opening them.
-
-
-
Click the hyperlinked name of the alert you want to edit.
-
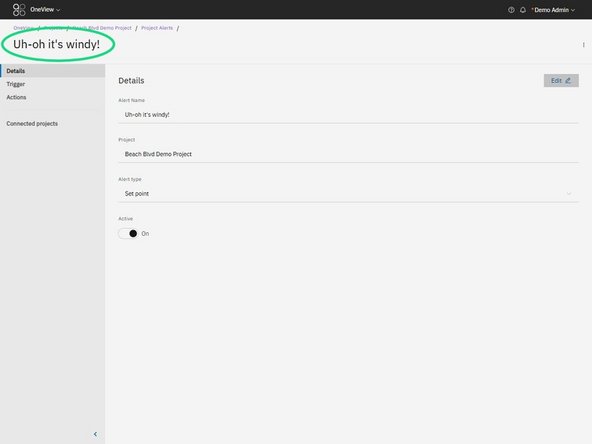
The alert details will open. You can confirm you're inside the alert by checking the name in the top navigation.
-
-
-
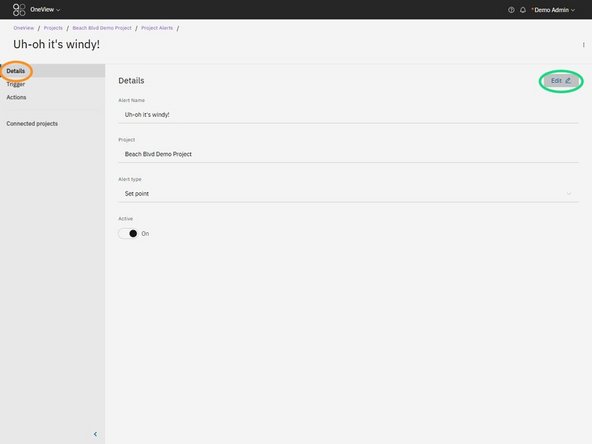
On the left-hand side, click “Details”
-
Press the Edit button (top right of the section)
-
You can update: the Alert name and Active status toggle.
-
Note: Project and Alert type cannot be changed once the alert is created.
-
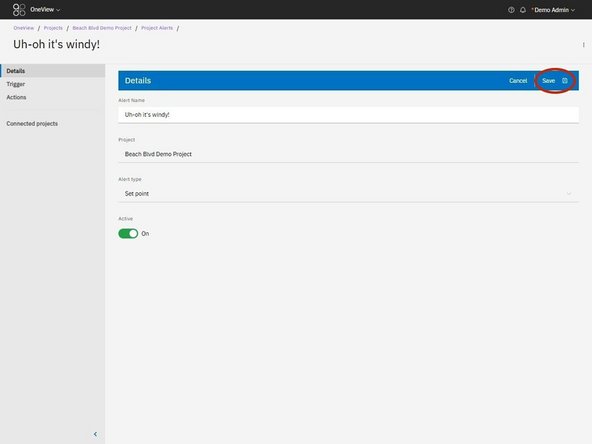
Click Save to apply any changes.
-
-
-
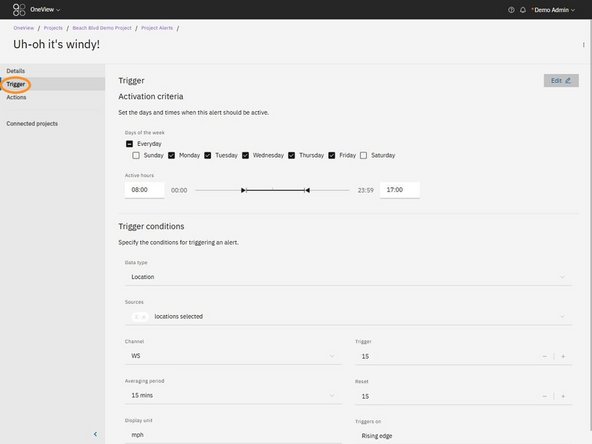
In the side navigation, select Trigger.
-
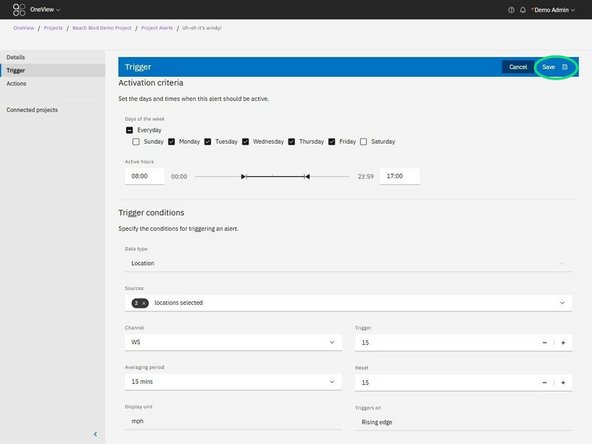
Click Edit to modify:
-
Activation criteria: Select which days and hours the alert is active.
-
Trigger conditions: Change the data source(s), channel, trigger/reset values, and averaging period.
-
Click Save to confirm changes.
-
-
-
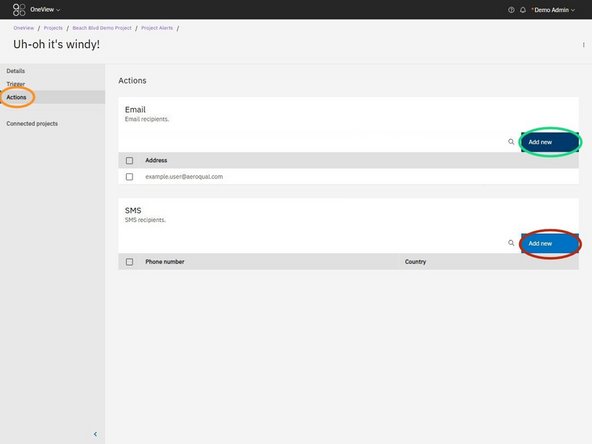
In the side navigation, select Actions.
-
Here you can manage:
-
Email recipients: Click Add new to enter one or more recipient email addresses.
-
SMS recipients: Click Add new to add recipient phone numbers.
-
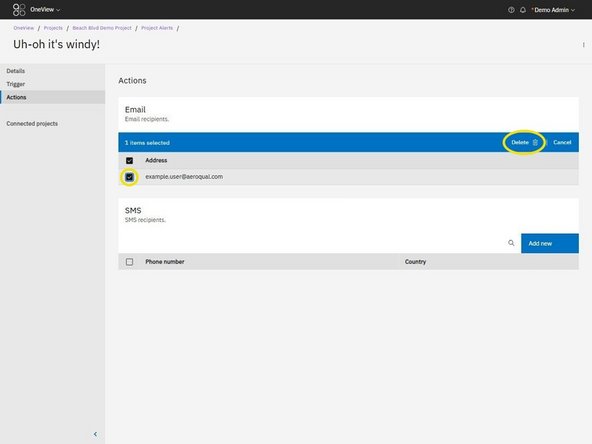
To remove recipients, use the checkbox to select, then click Delete.
-


For further support, contact Aeroqual Support.
For further support, contact Aeroqual Support.
