Introduction
Zero calibration allows for the elimination of zero drift that may have occurred after particles have deposited in the optical chamber, or due to changes in temperature and relative humidity.
Aeroqual recommends applying a zero calibration to Ranger | Dust on a regular basis.
Tools
Parts
No parts specified.
Video Overview
How to calibrate Ranger | Dust using a zero filter
-
-
Turn on Ranger
-
Attach the PMX sensor head to the Ranger base
-
Wait for the warmup period to end
-
The warmup period is indicated by red wavy lines on the main screen
-
-
-
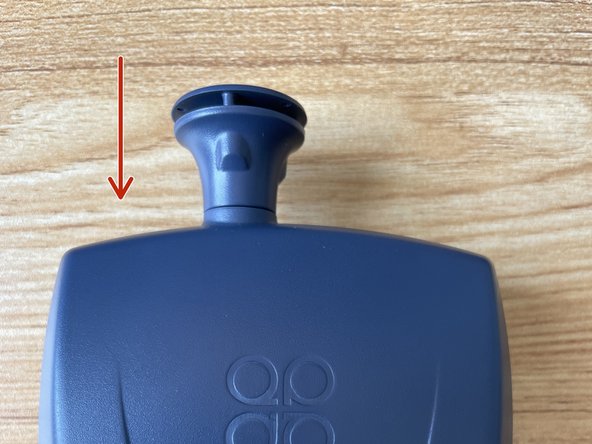
Firmly pull out the omni-directional inlet from the PMX sensor head
-
Keep the inlet in a safe place
-
-
-
Open your Ranger Zero Calibration Kit
-
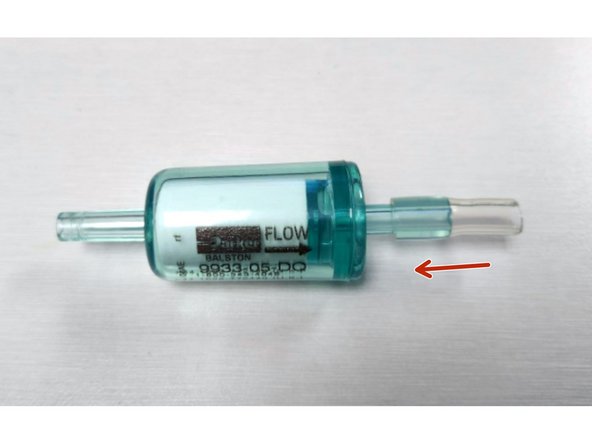
Locate the piece of Tygon tubing
-
Locate the filter
-
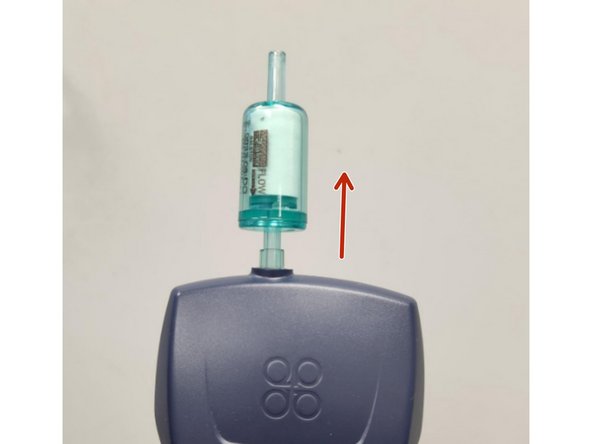
Push the Tygon tubing halfway onto the filter on the outlet side, as shown
-
-
-
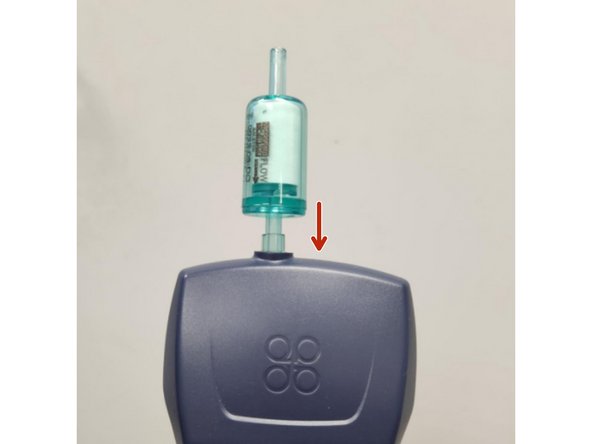
Attach the zero-filter kit to the PMX inlet
-
-
-
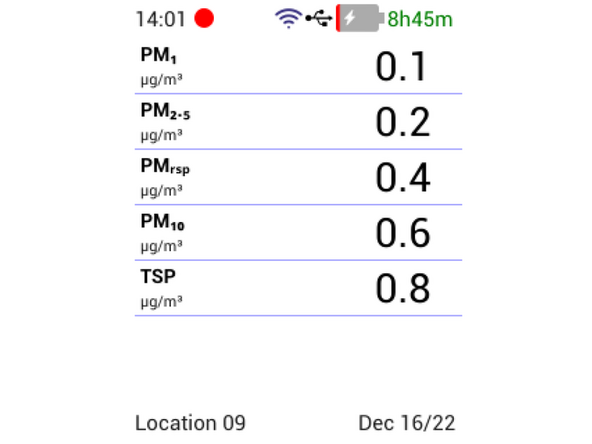
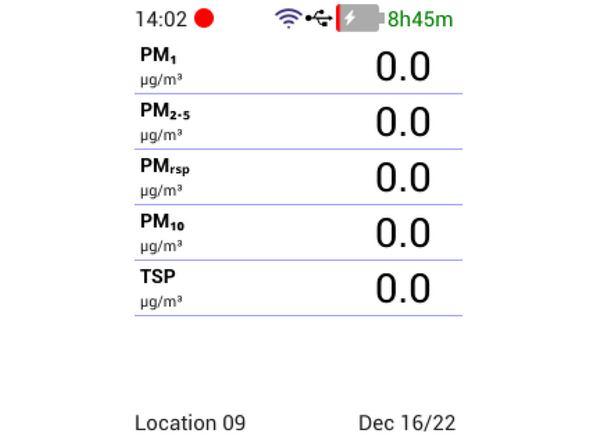
Flow zero air for 3 minutes for the readings to stabilize
-
The readings may stabilize but not reach zero values. This is normal.
-
-
-
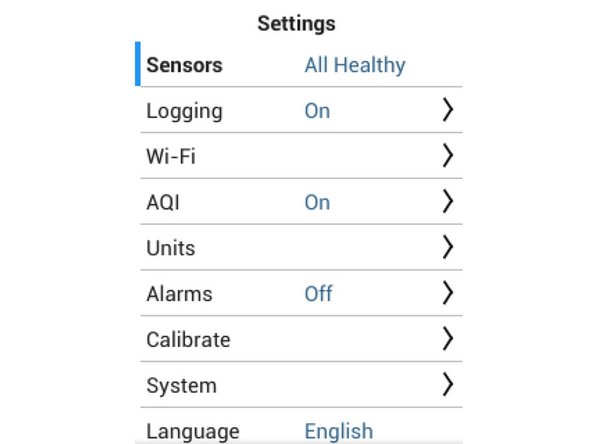
Press and hold the LEFT ARROW to enter the Settings menu
-
-
-
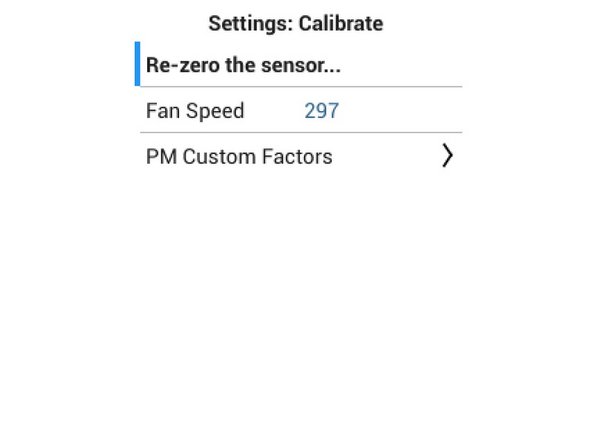
Navigate to Settings > Calibrate
-
Select ‘Re-zero the sensor...’
-
Press OK to confirm.
-
Please wait for the ‘Preparing for calibration’ and ‘Calibration in progress’ screens.
-
Upon successful calibration, the instrument will display a ‘Calibration Complete’ screen.
-
-
-
Exit the Settings menu by pressing and holding the LEFT ARROW
-
Remove the zero filter from the PMX sensor head
-
Firmly press the omni-directional inlet back into the PMX sensor head to reattach it
-
Hear it "click"
-
For further support, contact Aeroqual Support.
For further support, contact Aeroqual Support.


