Introduction
The AirCal 1000 is easy to set up.
-
-
Unpack the instrument.
-
Plug one end of the 100-240V AC to 12V DC power supply pack into the input socket at the back of the the AirCal 1000.
-
Plug the other end into the mains.
-
-
-
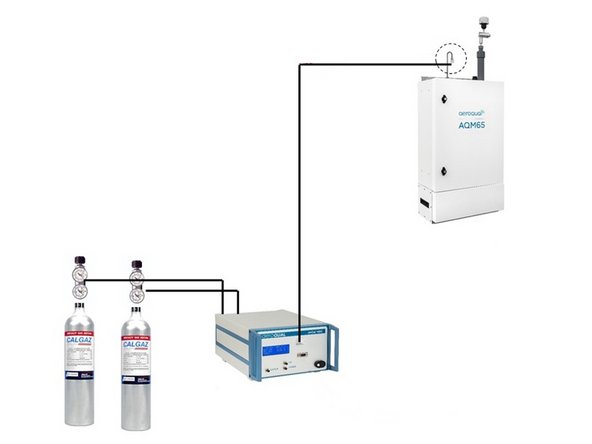
Remove the Kynar fitting (inlet mesh filter) from your monitor’s gas inlet.
-
Connect the 3-way tee to the inlet.
-
Use the flow assembly that came with your AirCal 1000 (¼ OD PTFE tubing and compression fitting) to connect the outlet on the front of the AirCal 1000 to one side the tee.
-
Never block the outlet flow of the AirCal 1000. Internal damage may occur.
-
-
-
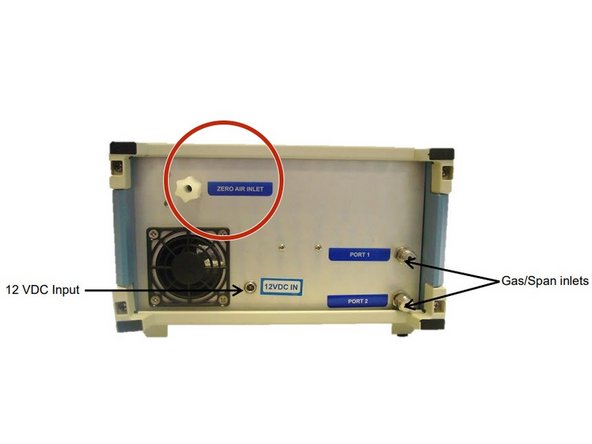
Fit the supplied filter to the zero air inlet on the back to ensure the pump doesn't get damaged by dust.
-
-
-
Attach (screw on) a gas regulator on to each of your 2 gas cylinders.
-
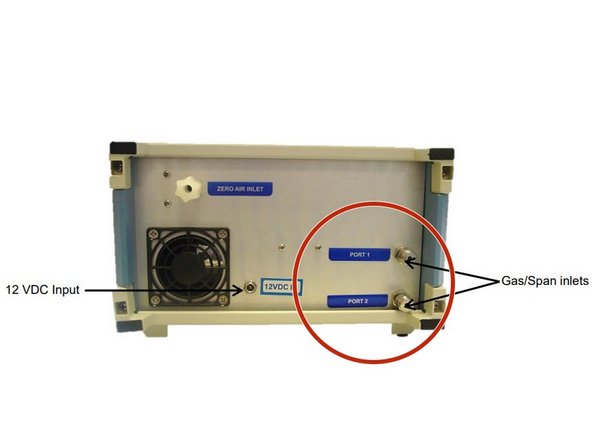
Connect the gas regulators to the gas inlet ports on the back of the AirCal 1000. Use 1/8 inch OD Teflon tubing to make this connection.
-
Adjust the inlet pressure to 10-15 PSI.
-
Don't over pressurise.
-
-
-
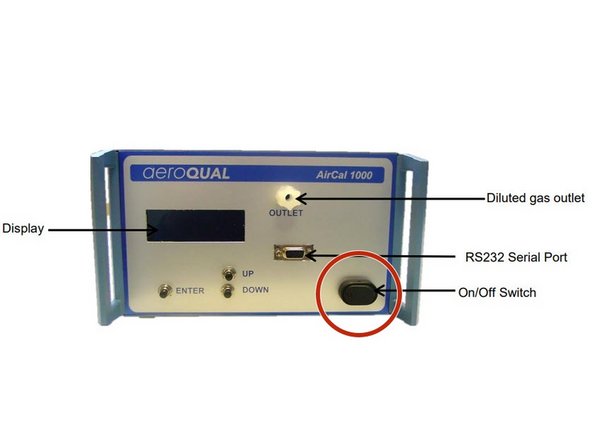
Turn on the power switch on the front of the AirCal 1000.
-
Wait 30 minutes for the instrument to warm up.
-
The AirCal1000 contains a heated Carulite scrubber for the removal of CO. This scrubber operates at elevated temperatures and needs 30 minutes to reach full CO scrubbing efficiency.
-
For further support, contact Technical Support.
For further support, contact Technical Support.
Cancel: I did not complete this guide.
One other person completed this guide.


