
Introduction
The Aeroqual Ranger™ is a portable air quality monitoring instrument designed for use by trained personnel in occupational and controlled environments. It is intended for professional applications including environmental monitoring, industrial hygiene, and research.
This equipment incorporates radio frequency (RF) transmitters and has been assessed for compliance with applicable exposure limits for occupational environments. It is not intended for use by the general public or in uncontrolled environments.
To ensure compliance with applicable RF exposure and safety requirements, the device must be operated in accordance with the instructions provided in this manual and only by personnel who are aware of and able to manage their exposure.
This is a Class A product. In a residential or domestic environment, this product may cause radio interference, in which case the user may be required to take adequate measures.
The Aeroqual Ranger™ is designed for use in professional settings where electromagnetic compatibility can be managed. Use in residential or public environments may result in interference and is not recommended.
-
-
Press the POWER button to power on the instrument.
-
An LED will illuminate on the front of the display.
-
Please wait 15 seconds for the start-up sequence to complete.
-
From the splash screen, press ANY BUTTON to proceed.
-
-
-
Press and hold the POWER button for five (5) seconds.
-
Please wait for the shut-down screen to appear.
-
The instrument will now power off.
-
In the event the instrument experiences an irrecoverable failure, a hard reset can be performed by holding the POWER BUTTON and DOWN ARROW simultaneously for 20 seconds.
-
-
-
Upon startup, the main data display page will be shown.
-
The main screen contains real-time measurement data coming from the sensor head connected to the instrument. On the top, it displays time, recording status, Wi-Fi connection status, and battery/charging status. On the bottom, it displays Location ID and date.
-
Press the LEFT and RIGHT ARROWS to navigate between Summary, Detail, and AQI display screens.
-
The AQI screen is available only while using the PMX sensor head.
-
-
-
If the sensor head is able to measure more than one parameter, then a Detail screen is available for each parameter.
-
Scroll through each parameter's Detail screen by using the LEFT and RIGHT arrows.
-
An Air Quality Index (AQI) will be visible if the AQI feature is turned On
-
Scroll through the AQI screens by using the LEFT and RIGHT arrows.
-
The AQI screen is only available while using the PMX sensor head.
-
-
-
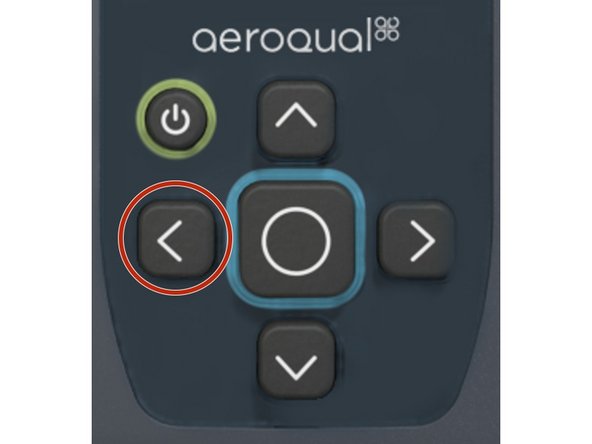
To enter the settings menu, press and hold the LEFT ARROW.
-
To exit the settings menu, press and hold the LEFT ARROW
-
For more details, visit the Settings guide
-
-
-
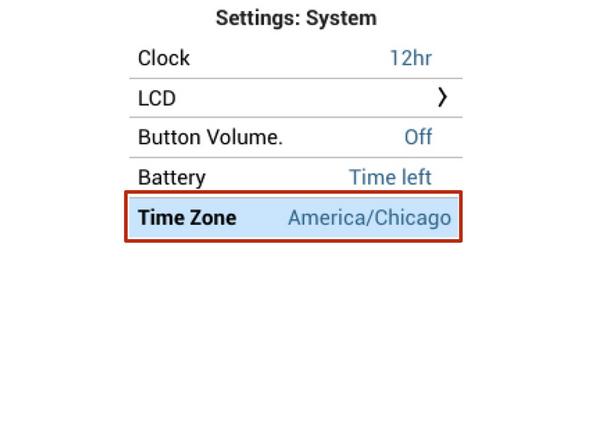
Navigate to Settings > System
-
Select Time Zone
-
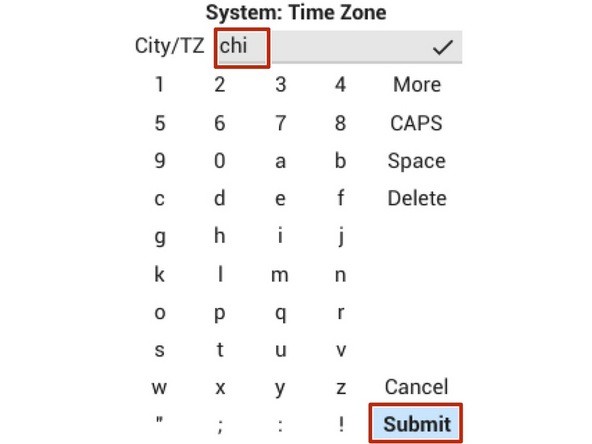
Enter the name of a large city in your preferred time zone, and select Submit
-
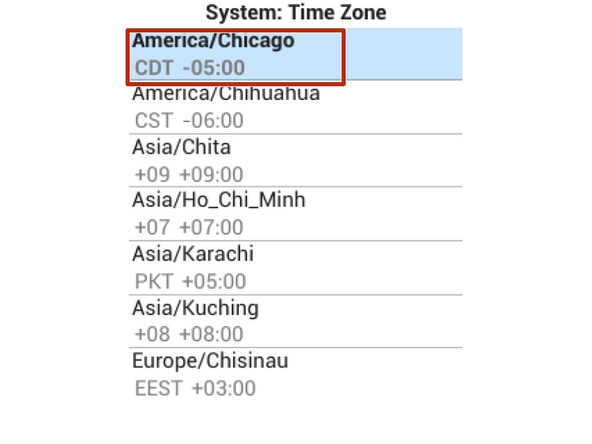
A list will appear. Select your city from the list.
-
Your time zone has now been set
-
-
-
-
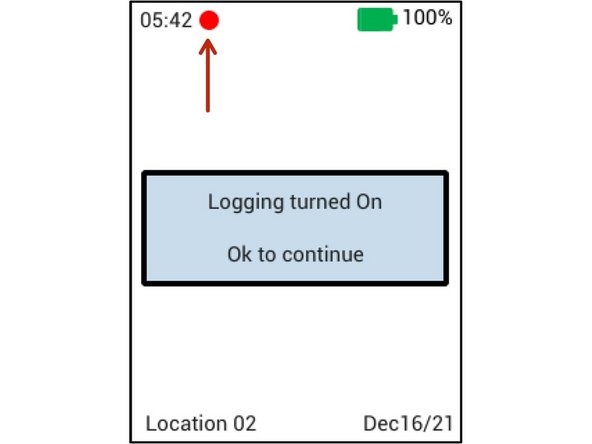
To start and stop Logging from the Main Screen, press and hold the CENTER BUTTON.
-
As long as logging is enabled, a red circle will appear at the top of the Main screen.
-
For more details and more options, please visit the Settings guide
-
-
-
Logged data is accessible through Ranger Cloud, which requires Wi-Fi, or via a USB Cable.
-
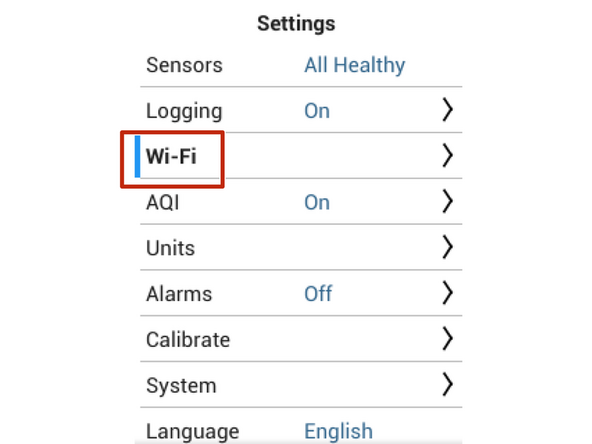
From the Settings menu, navigate to the Wi-Fi > Networks submenu.
-
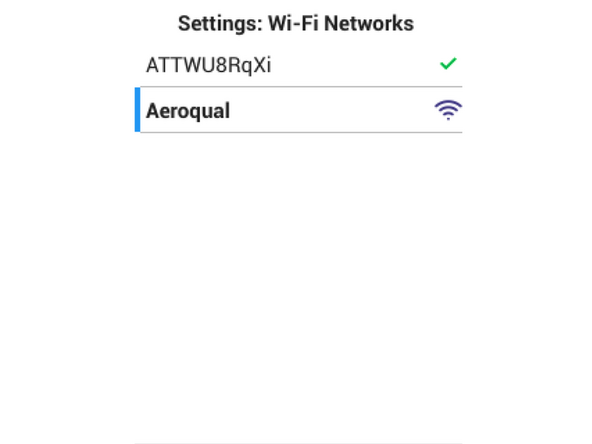
Select the Wi-Fi network you want to connect to
-
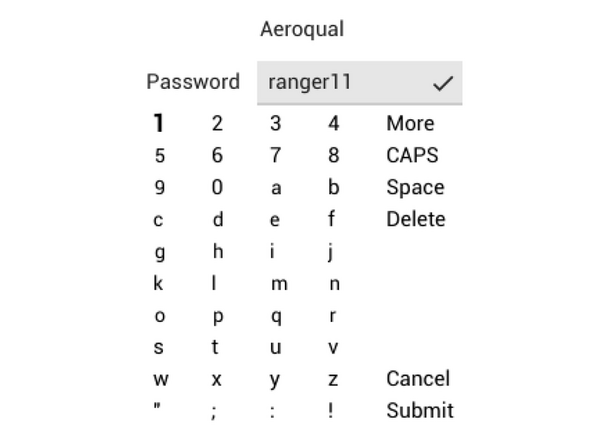
Enter the Wi-Fi network's password
-
Select Submit
-
The password is case sensitive.
-
-
-
Data logged on Ranger is accessible from Ranger Cloud, or by download with a USB Cable.
-
As long as Wi-Fi is enabled on the instrument, all logged data is immediately synchronized to Cloud.
-
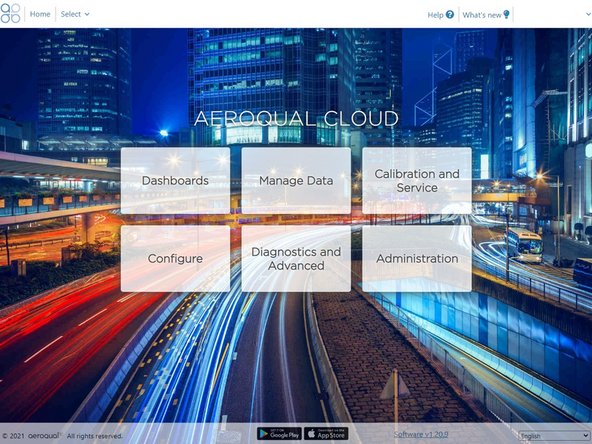
Log into Cloud
-
If you have trouble accessing your login, contact support@aeroqual.com
-
Click on "Manage Data" to access your data.
-


For further support, contact Aeroqual Support.
For further support, contact Aeroqual Support.
Cancel: I did not complete this guide.
24 other people completed this guide.

Team
