
Introduction
Aeroqual’s calibration accessory (AS R42) facilitates humidity control and the delivery of calibration gas to the sensor head. By delivering a consistent flow of calibration gas to the sensor head, without forcing air at the sensor, it ensures the most accurate calibration possible.
To use this accessory for span calibration, you need a Series 500 or 300 handheld monitor. To use it for zero calibration, you need a Series 500, 300 or 200 handheld monitor.
Note: The calibration accessory can’t be used for Ranger. Also, it can't be used for the calibration of ozone, ammonia, perchloroethylene and particulates. These sensor heads need to be returned to Aeroqual for calibration.
Tools
No tools specified.
-
-
Calibration accessory (part AS R42).
-
Syringe and clean water.
-
Inert tubing. Type depends on the gas:
-
Tygon R-3606 for carbon dioxide and carbon monoxide.
-
PTFE (Teflon) for hydrogen, hydrogen sulfide, methane, ozone, sulfur dioxide, VOCs, non-methane hydrocarbons.
-
0.5 LPM constant flow regulator (e.g. Calgaz regulator model 715).
-
Zero grade air in an air cylinder.
-
Span gas in an air cylinder.
-
-
-
Fill the syringe that came with your calibration accessory with 5g of clean water.
-
Remove the luer cap from the accessory's water inlet and syringe in the water.
-
Replace the luer cap.
-
-
-
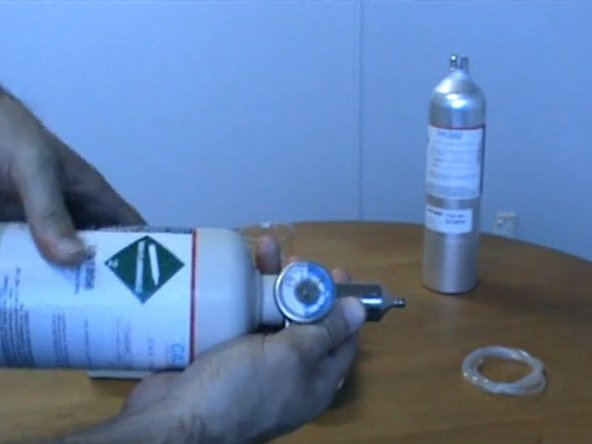
Make sure the valve on your 0.5 LPM flow gas regulator is fully off.
-
Screw the gas regulator onto your gas cylinder. When the regulator is correctly fitted, the pressure indicator will show the cylinder pressure.
-
Always point the cylinder and regulator away from yourself and others when attaching or removing a pressure regulator.
-
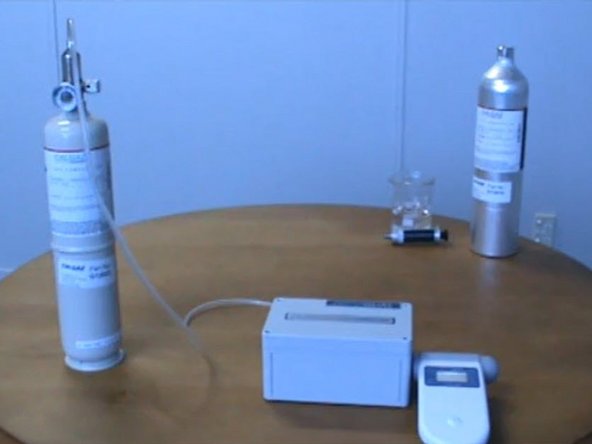
Secure the cylinder so it can't be knocked over while the regulator is attached.
-
-
-
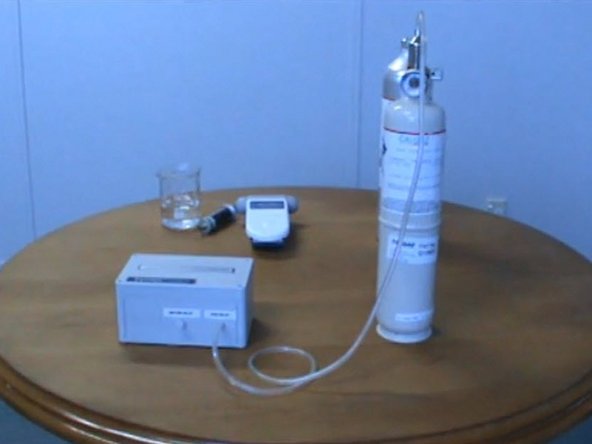
Push the tubing over the barb on the top of the gas regulator.
-
Push the other end of the tubing over the gas inlet barb on the top of the calibration accessory.
-
-
-
Make sure the handheld monitor is on.
-
When the monitor is warmed up, insert the sensor head (mesh cover end) into the gas outlet on the side of the calibration accessory.
-
Make sure the monitor sits squarely against the wall of the calibration accessory.
-
-
-
For extra help, watch our video.
-


For further support, contact Technical Support.
For further support, contact Technical Support.
Cancel: I did not complete this guide.
4 other people completed this guide.

Team
