
Introduction
The standard remote sensor kit (AS R10) and IP-rated remote sensor kit (AS R13) allow a sensor, connected by a CAT 5 cable, to be located up to 14 metres (46 feet) away from a monitor base.
Both kits are compatible with handheld monitors (Series 200/300/500) and indoor fixed monitors (Series 900/930).
Tools
No tools specified.
-
-
The standard remote sensor kit (AS R10) comes with a circular base, a sensor adapter and a 2m CAT5 cable.
-
It uses standard (Type 1) sensor heads.
-
The kit doesn't include the handheld monitor shown in this image.
-
-
-
Plug one end of the CAT5 cable into the circular base and the other end into the sensor adaptor.
-
Place the sensor adaptor onto the handheld or fixed monitor.
-
Place the gas sensor head onto the circular base.
-
Turn on the monitor and start taking measurements.
-
-
-
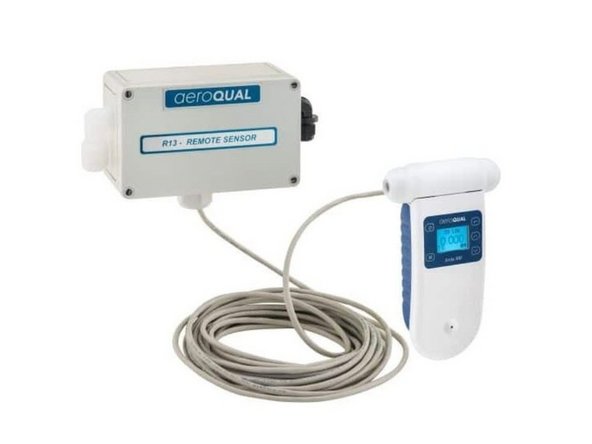
The IP-rated remote sensor kit (AS R13) comes with an IP41-rated enclosure, a sensor adaptor and 10m of CAT5 cable.
-
The CAT5 cable comes pre-connected through a cable gland into the enclosure.
-
The enclosure uses gas sensor heads that fit inside the enclosure (Type 2).
-
The kit doesn't include the handheld monitor shown in this image.
-
-
-
Ensure the cable gland is tightened securely then connect the other end to the sensor adaptor.
-
Place the sensor adaptor onto the handheld or fixed monitor.
-
To place the gas sensor head inside the IP-rated enclosure:
-
Remove the enclosure lid.
-
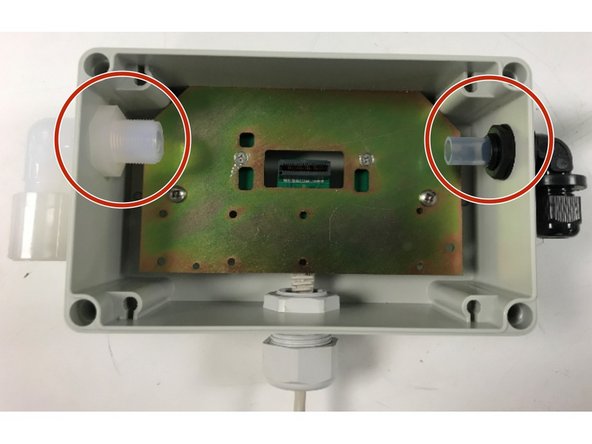
Loosen the elbow nuts inside of the enclosure and slide the elbows outwards to make room for the sensor head connectors.
-
Plug in the sensor head, then slide the elbow connectors onto the sensor head connectors.
-
Ensure the nozzles are tightly secured on the inlet and outlet of the sensor head.
-
Turn on the monitor and start taking measurements.
-


For further support, contact Technical Support.
For further support, contact Technical Support.
Cancel: I did not complete this guide.
7 other people completed this guide.
