
Tools
No tools specified.
-
-
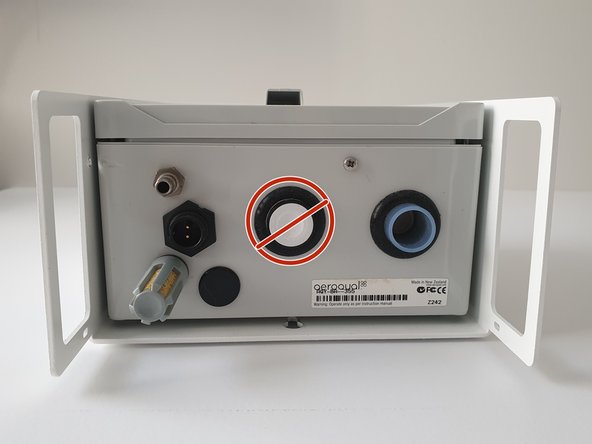
Disconnect the power supply at the bottom of the AQY 1 unit.
-
Remove the front cover by loosening all 4 screws (they won't come out of the casing).
-
Unscrew the modem/USB mounting bracket.
-
Disconnect the USB connections and remove the entire bracket with USB backup and modem attached.
-
-
-
Disconnect the white connector at the top of the PM sensor.
-
Separate the sensor from the metal bracket by disconnecting the white spacers.
-
Pull the sensor out of the sample tube (wiggling or rotating may be required).
-
Insert the new PM sensor into the sample tube.
-
Connect the sensor to the metal bracket using the white spacers.
-
Connect the white connector at the top of the new sensor.
-
If you're only changing the PM sensor, go to step 6 to reset its calibration parameters.
-
-
-
Disconnect the 3 white data connections from the NO2/O3 sensor board. The connections are labelled:
-
PM = PM
-
T/RH = Temperature/RH
-
RPi = Raspberry Pi
-
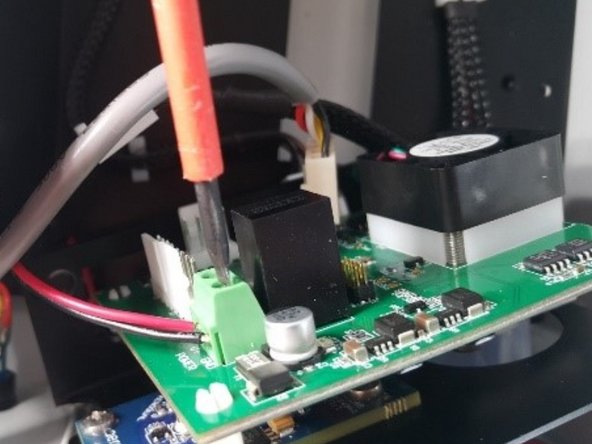
Unscrew the positive and negative power supply cables from the sensor board.
-
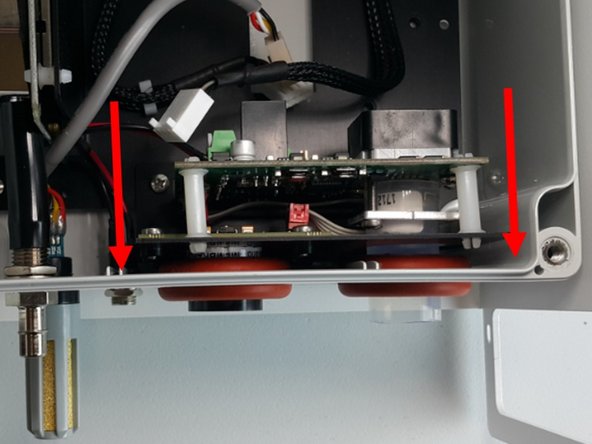
Unscrew the entire sensor board -1 screw underneath and 2 on the backplate.
-
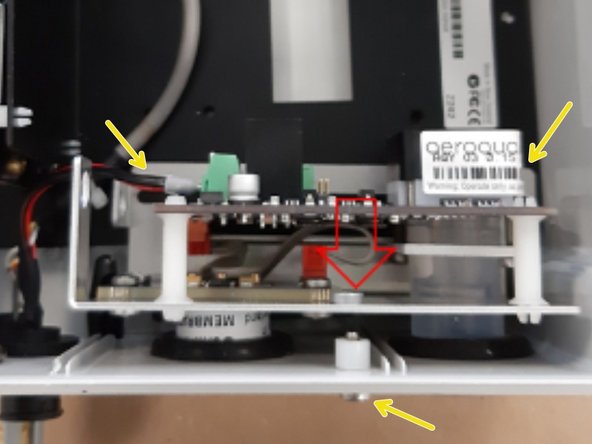
Remove the sensor board by gently pulling it vertically to free the sensors from their grommets.
-
-
-
Never directly touch the exposed NO2 sensor at the bottom. If it becomes disconnected from your replacement sensor assembly, grip the sides of it when reconnecting.
-
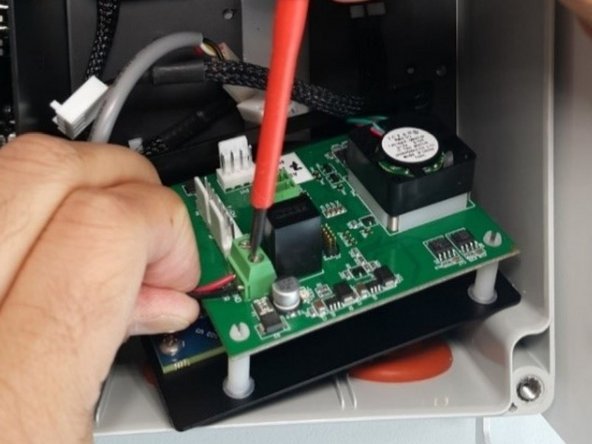
Connect the positive and negative power supply cables to the replacement sensor board. Double check the polarity.
-
Align the NO2 and O3 sensors with the appropriate holes in the base and push the sensor board into position.
-
Screw the new sensor board in, bottom screw then backplate screws.
-
-
-
Re-connect the data connections to the correct terminals.
-
Reconnect the USB backup and modem to their USB cables and screw the bracket back onto the backplate.
-
Replace the front cover ensuring the front vent is at the top with the opening pointing down.
-
Reconnect the power supply.
-
-
-
After replacing the PM2.5 sensor, you need to reset its calibration parameters.
-
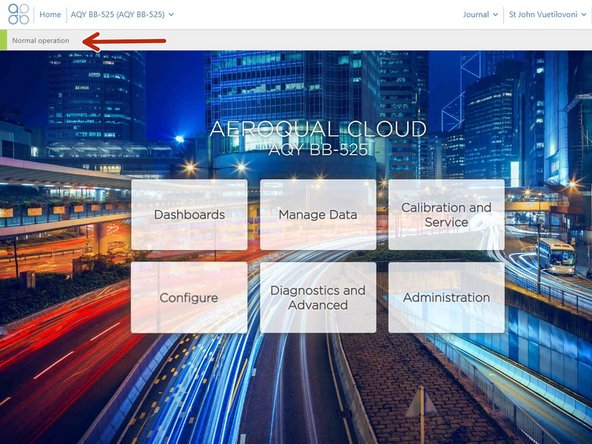
Connect to the monitor via Aeroqual Connect or Aeroqual Cloud.
-
Ensure the monitor is in Normal operation and not displaying an error message. If an error is displayed, check the PM2.5 sensor and connections.
-
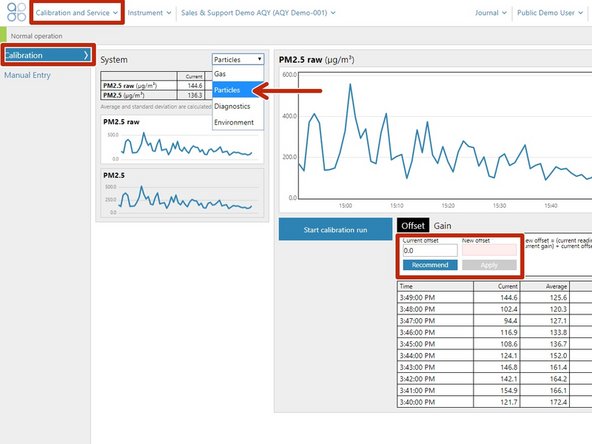
Enter the Calibration and Service app and select Particles from the drop-down.
-
Select the PM2.5 raw channel and check the New offset is set to 0.0 and the New gain is set to 1.0.
-
Don't adjust theses parameters for any other particle channel.
-


For further support, contact Technical Support.
For further support, contact Technical Support.
Cancel: I did not complete this guide.
One other person completed this guide.

Team
